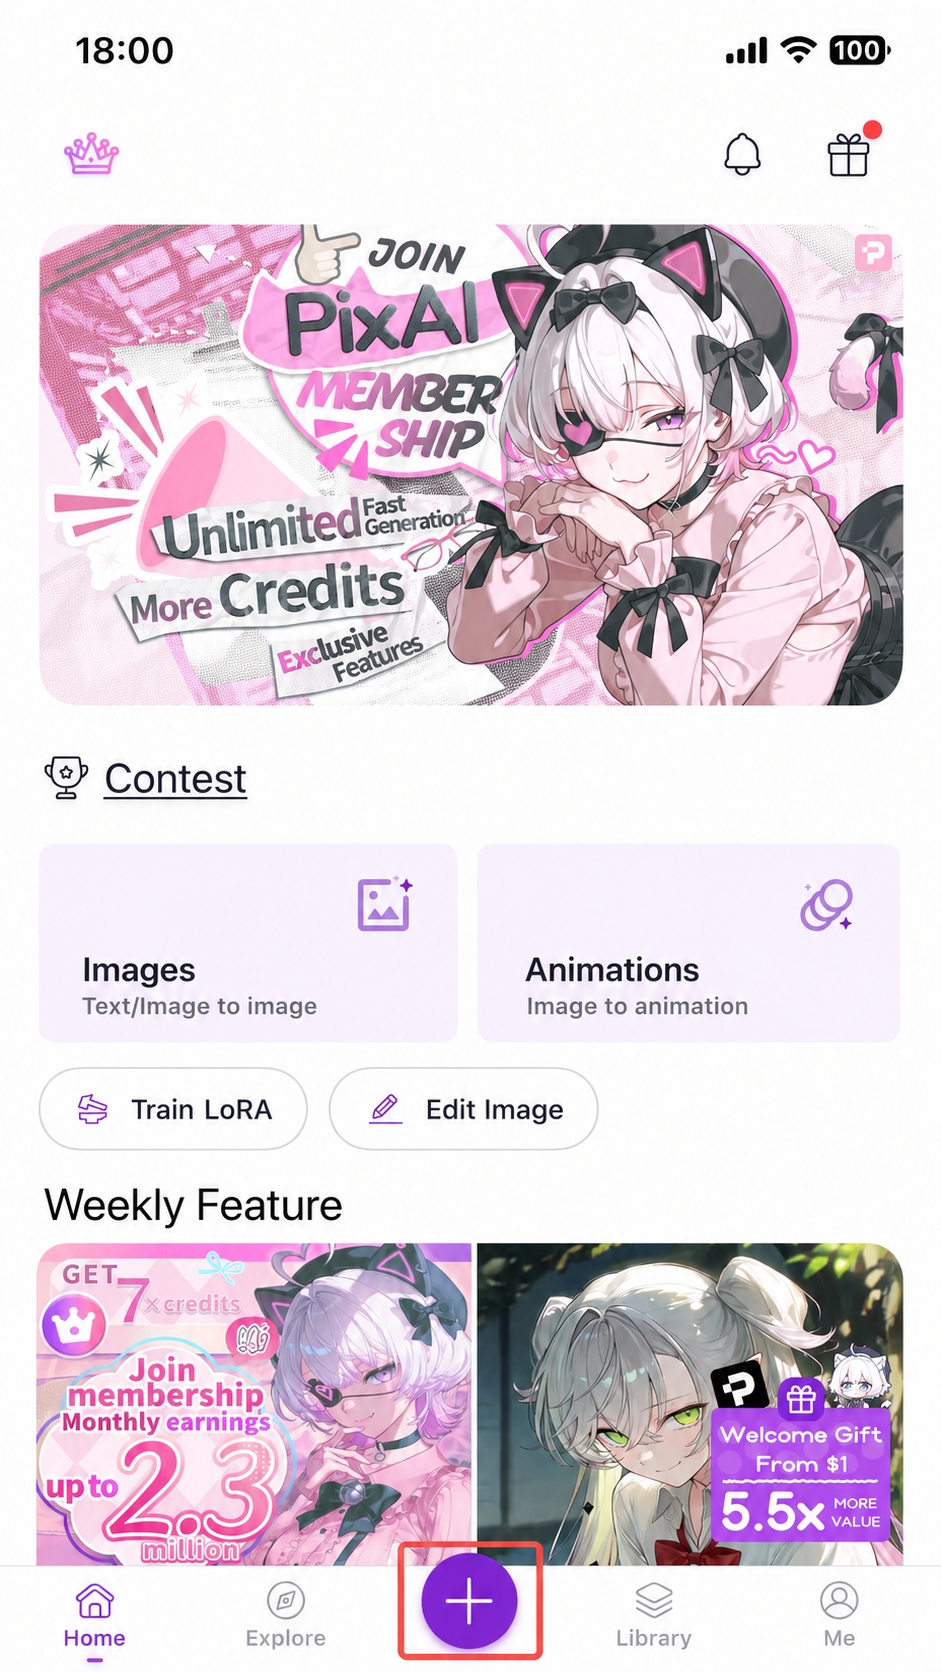
Quick Start
Beginner walkthrough — generate your first AI anime image on PixAI in 5 minutes, from sign-up to your finished result.
Before You Start
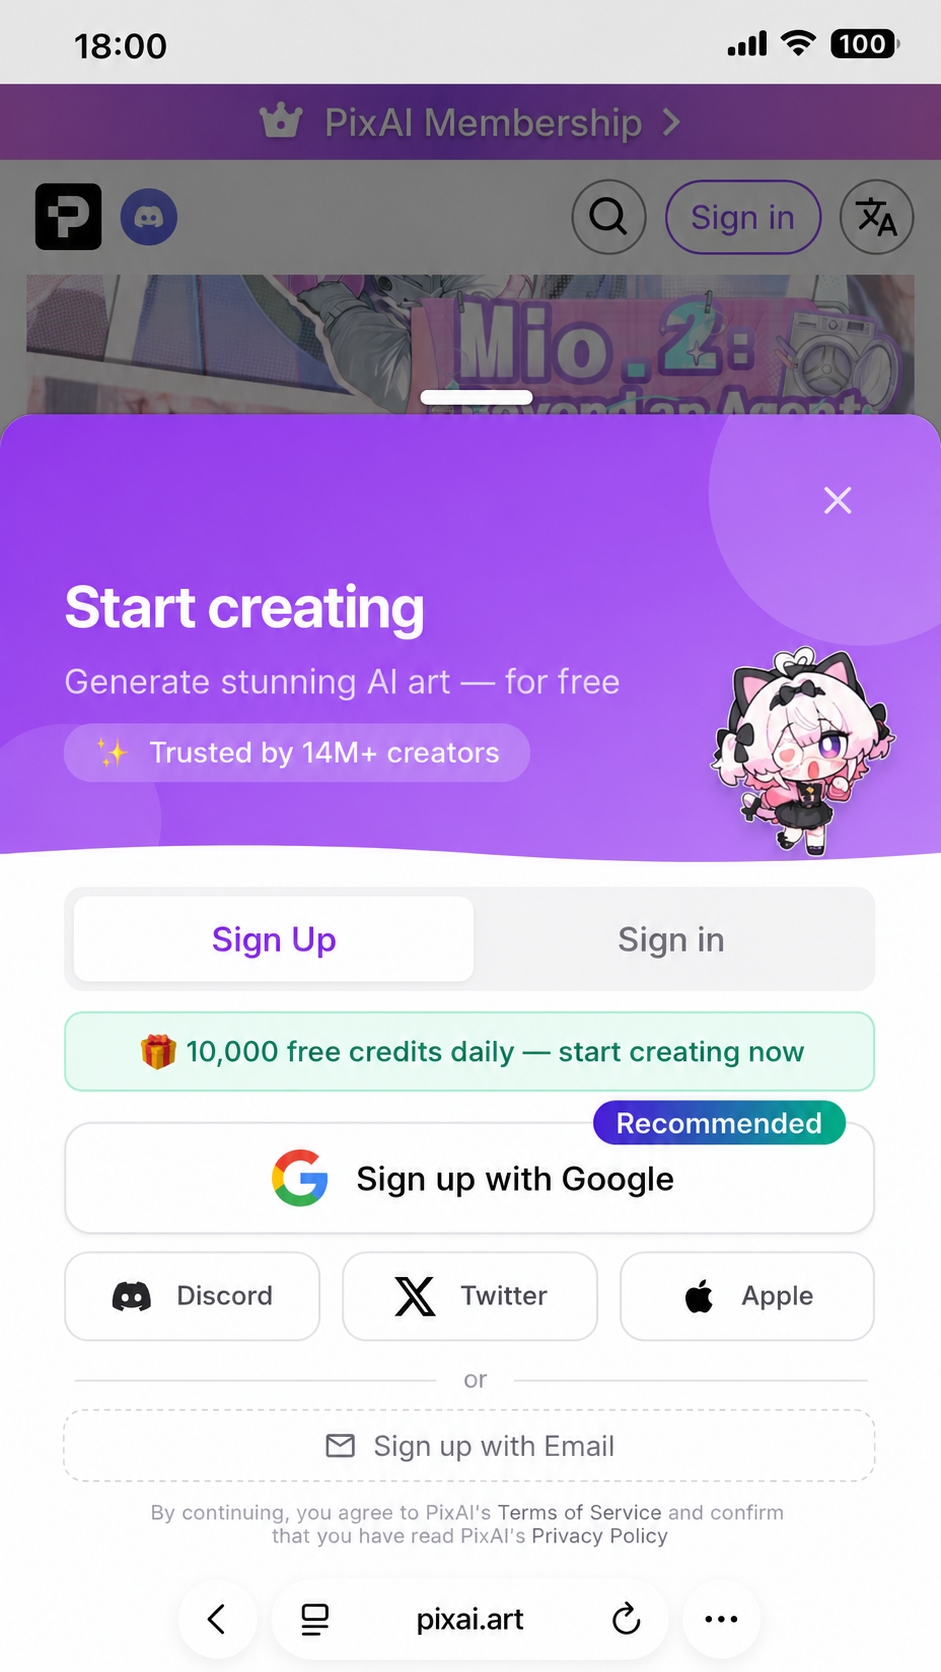
Sign Up
Head to pixai.art and click Sign in in the top right. PixAI supports five sign-in / sign-up methods:
- Google (recommended)
- Discord
- X (formerly Twitter)
- Apple
"Sign in with Google" and email sign-in create two separate accounts, even if you use the same email address. If you've signed in with Google before, stick with Google — otherwise your works, credits, and member perks won't carry over.


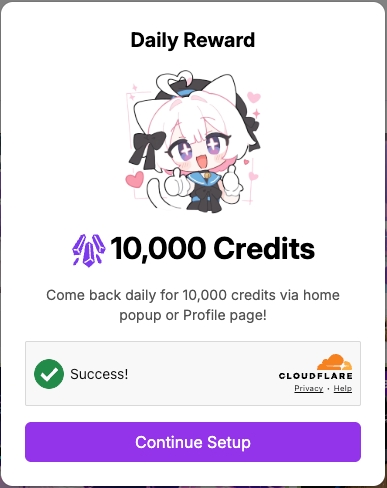
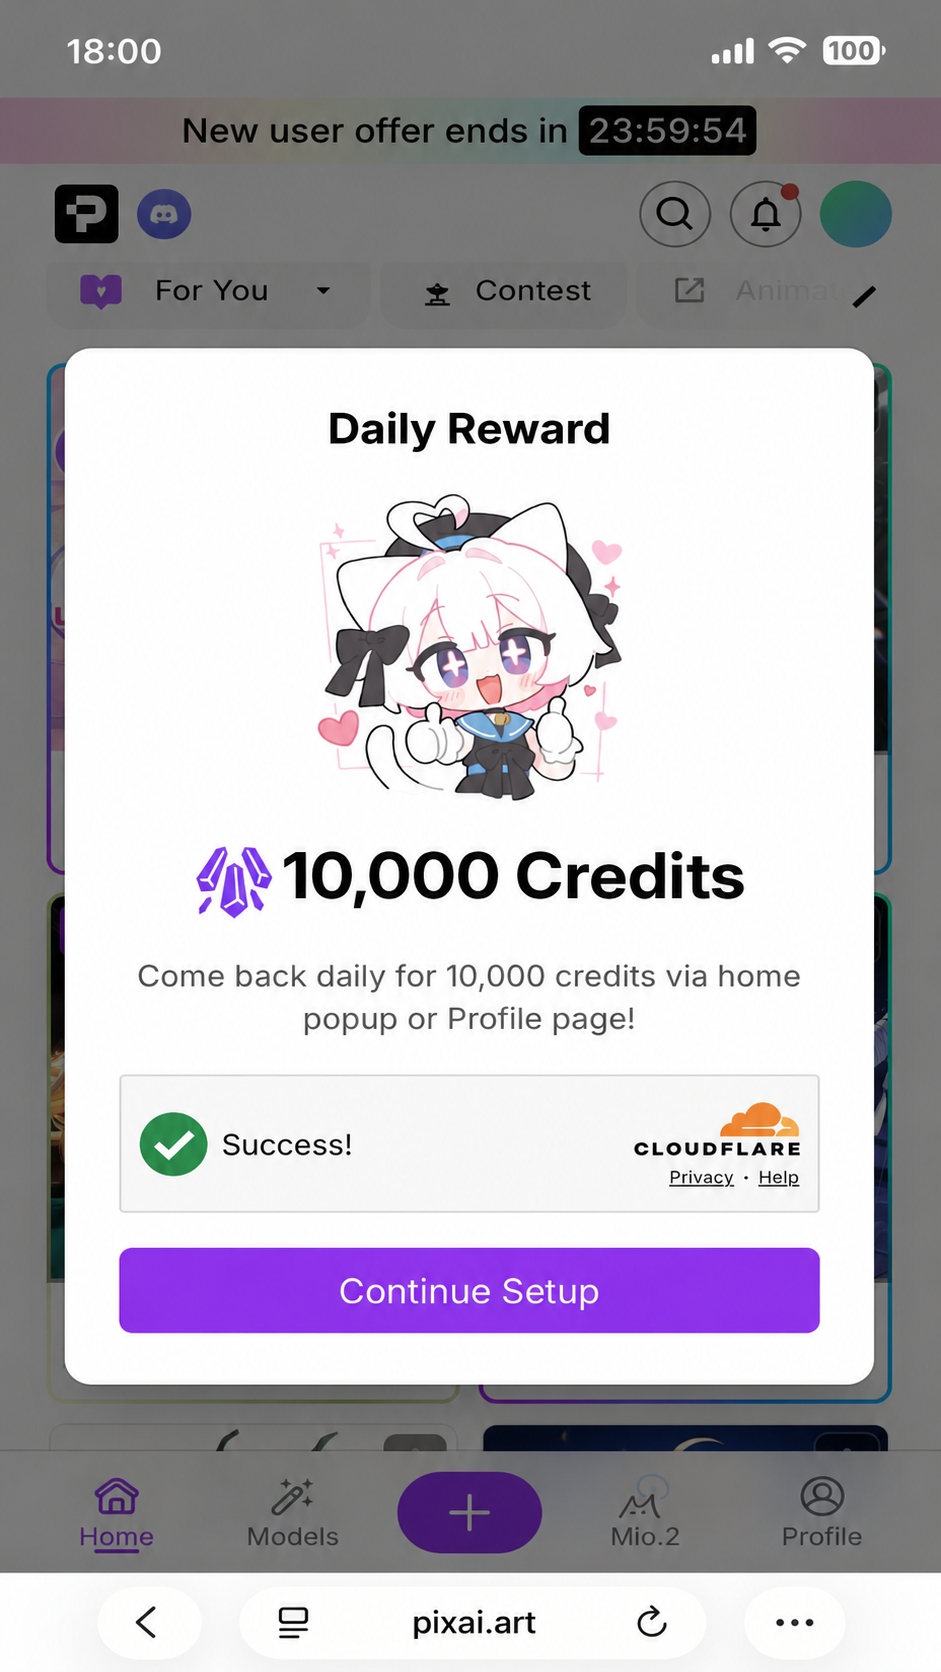
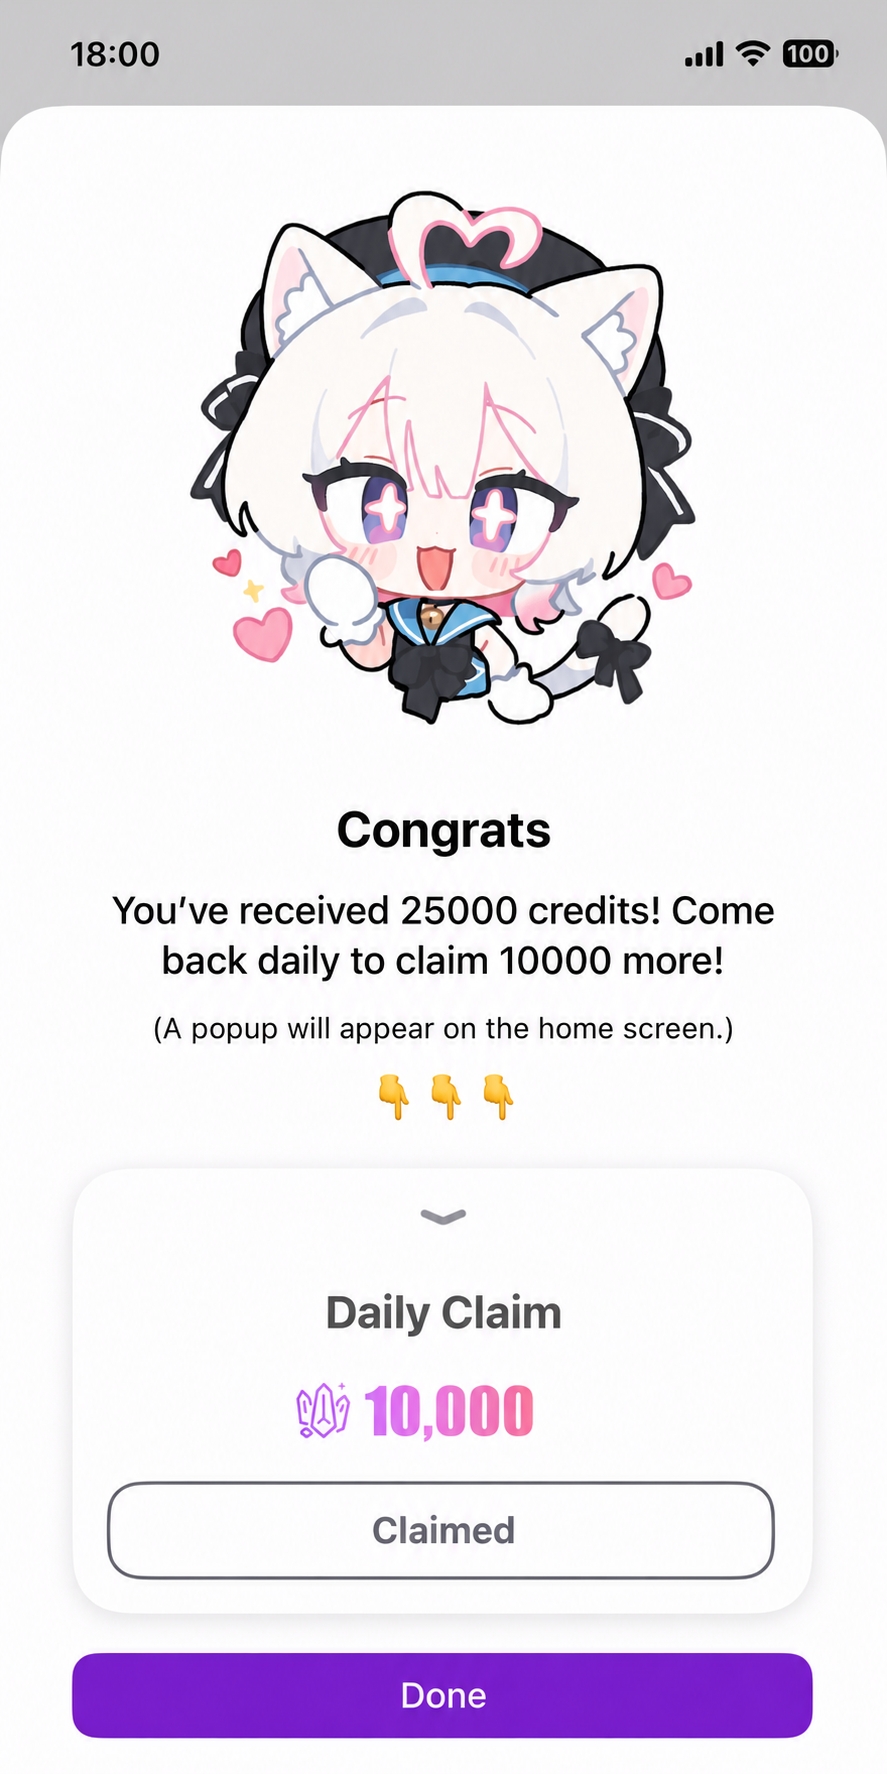
Claim Your Daily Credits
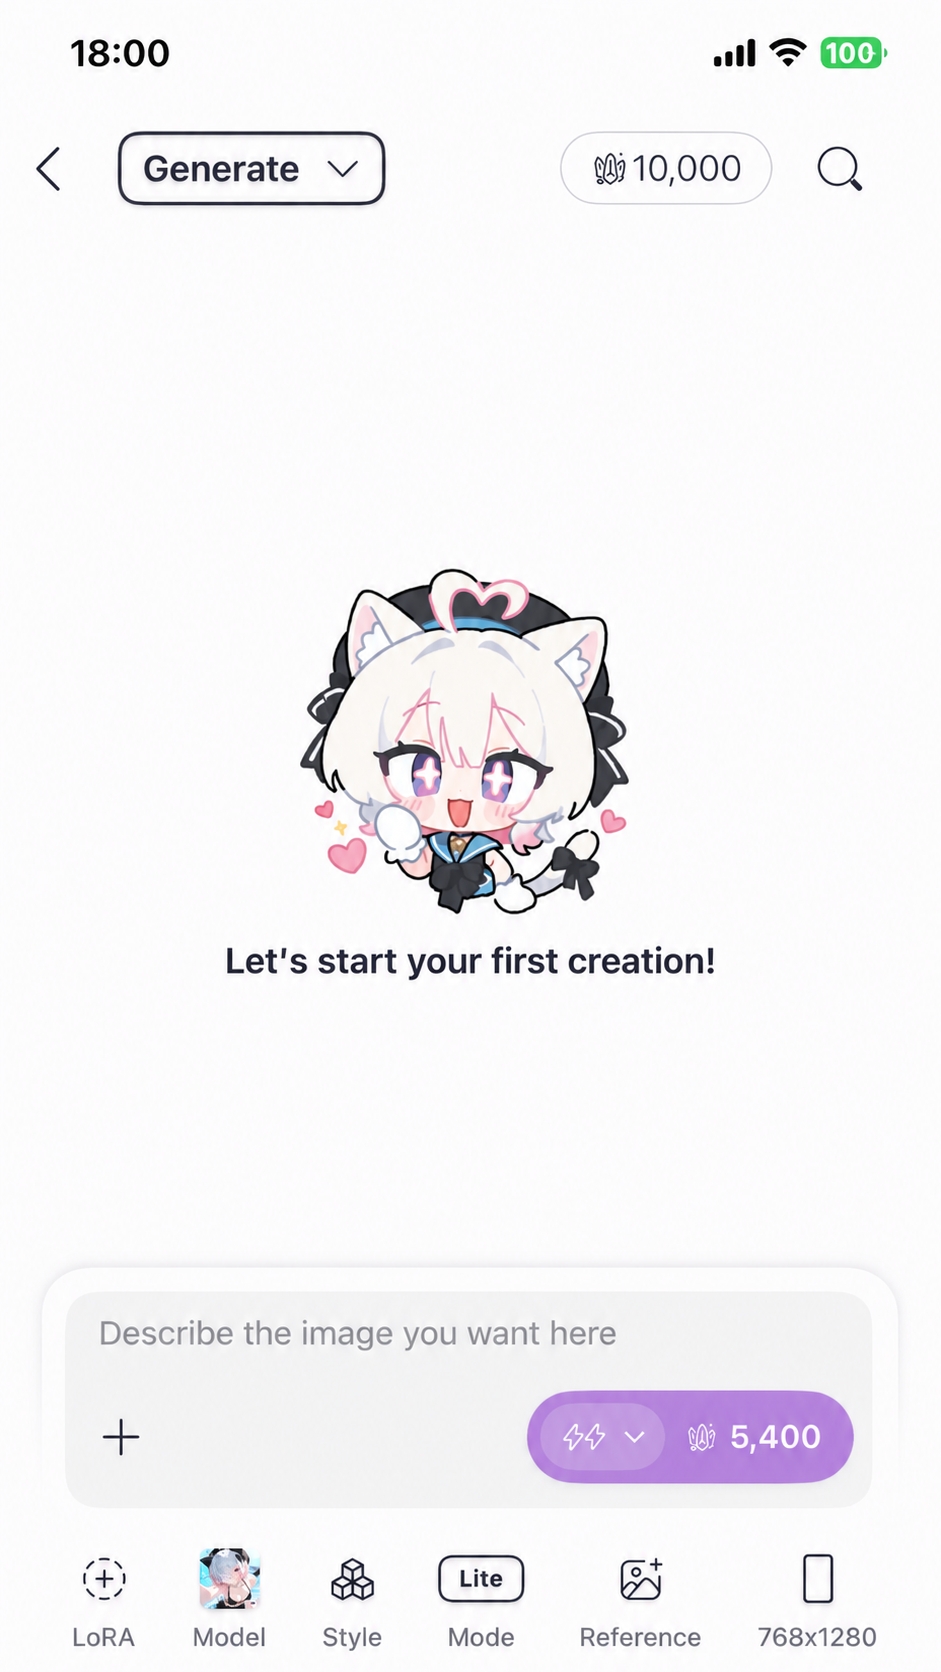
Once you're logged in, claim 10,000 free credits straight away. Credits are the "fuel" for image generation.
Generate with Mio!
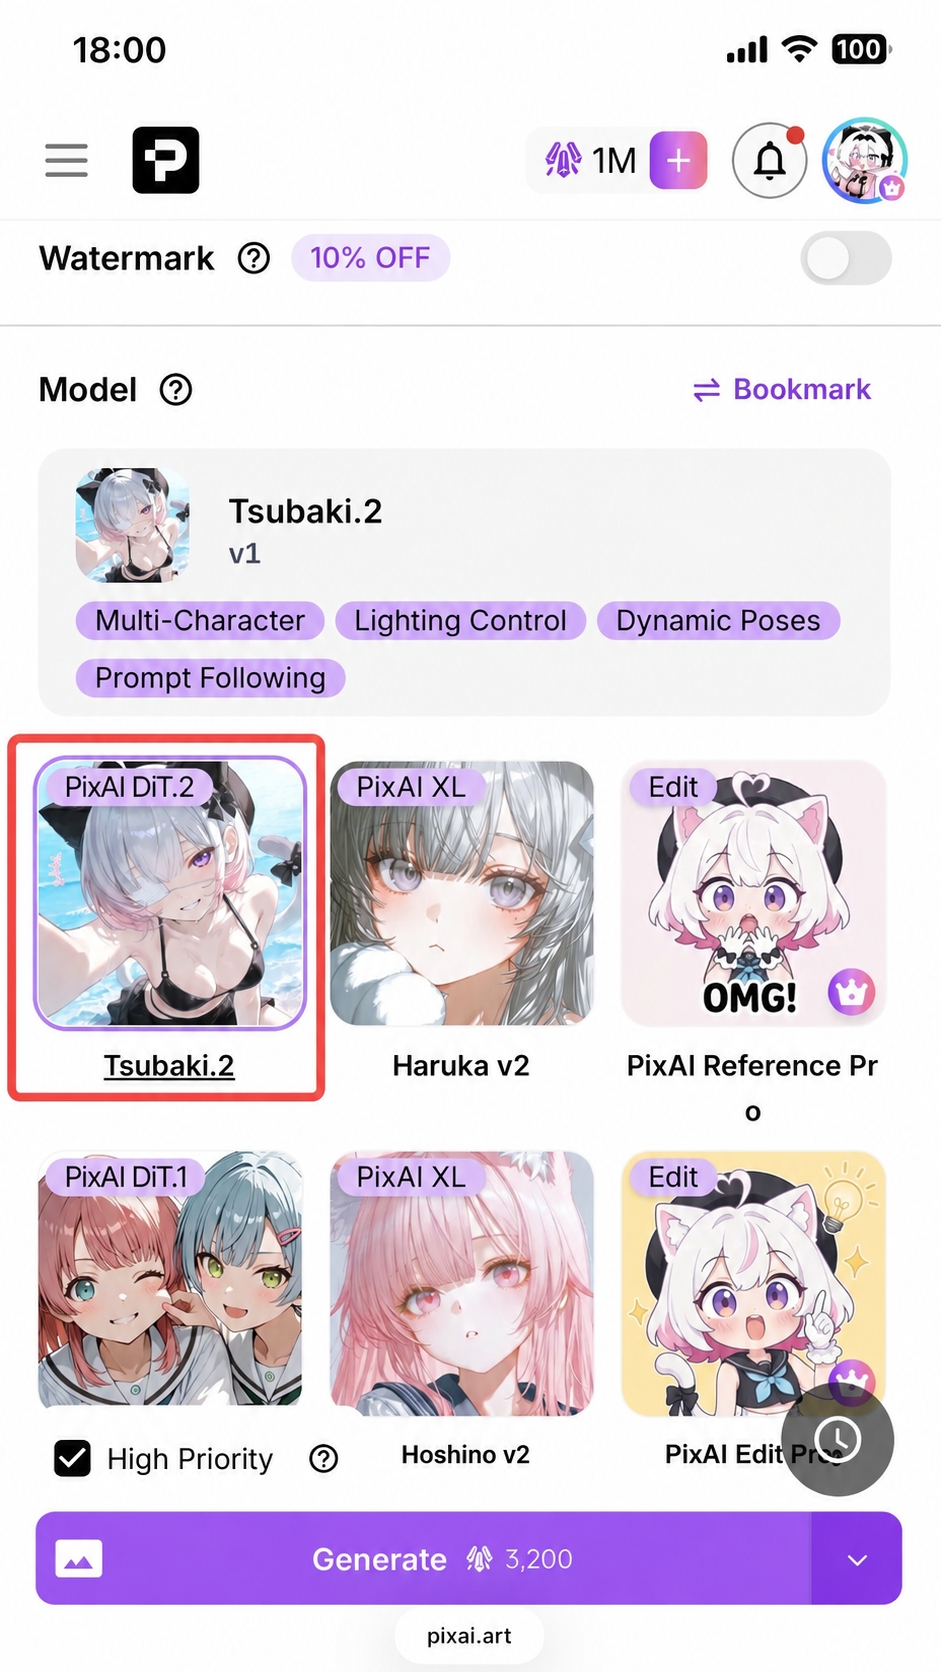
Step 1: Open the Generation Page
Open the generation page:
- Desktop: click Generate in the left sidebar
- Mobile (web / app): tap the purple + button at the bottom


Desktop uses a three-column layout; mobile (web / app) stacks vertically:
| Area | Desktop | Mobile (web / app) |
|---|---|---|
| Generation history | Left column | Drop-down at the top |
| Core workspace | Middle — prompt, toolbar, generate button | Middle-bottom — input + generate button |
| Parameters | Right — model, LoRA, dimensions | Bottom toolbar: LoRA / model / style / mode / reference / size |
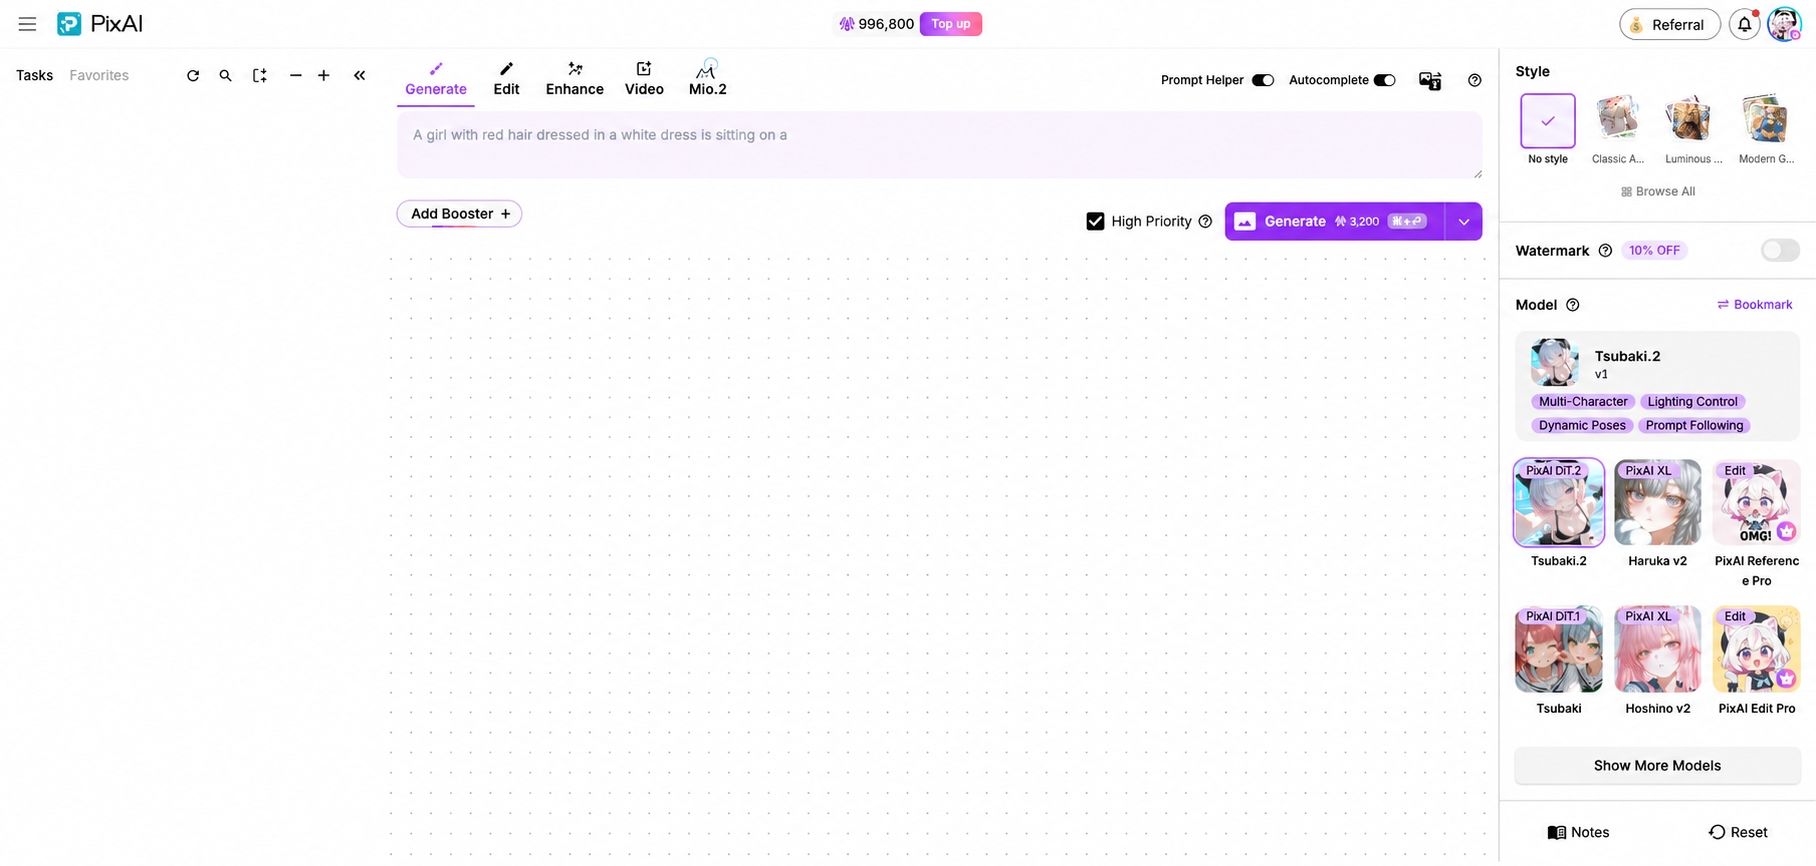
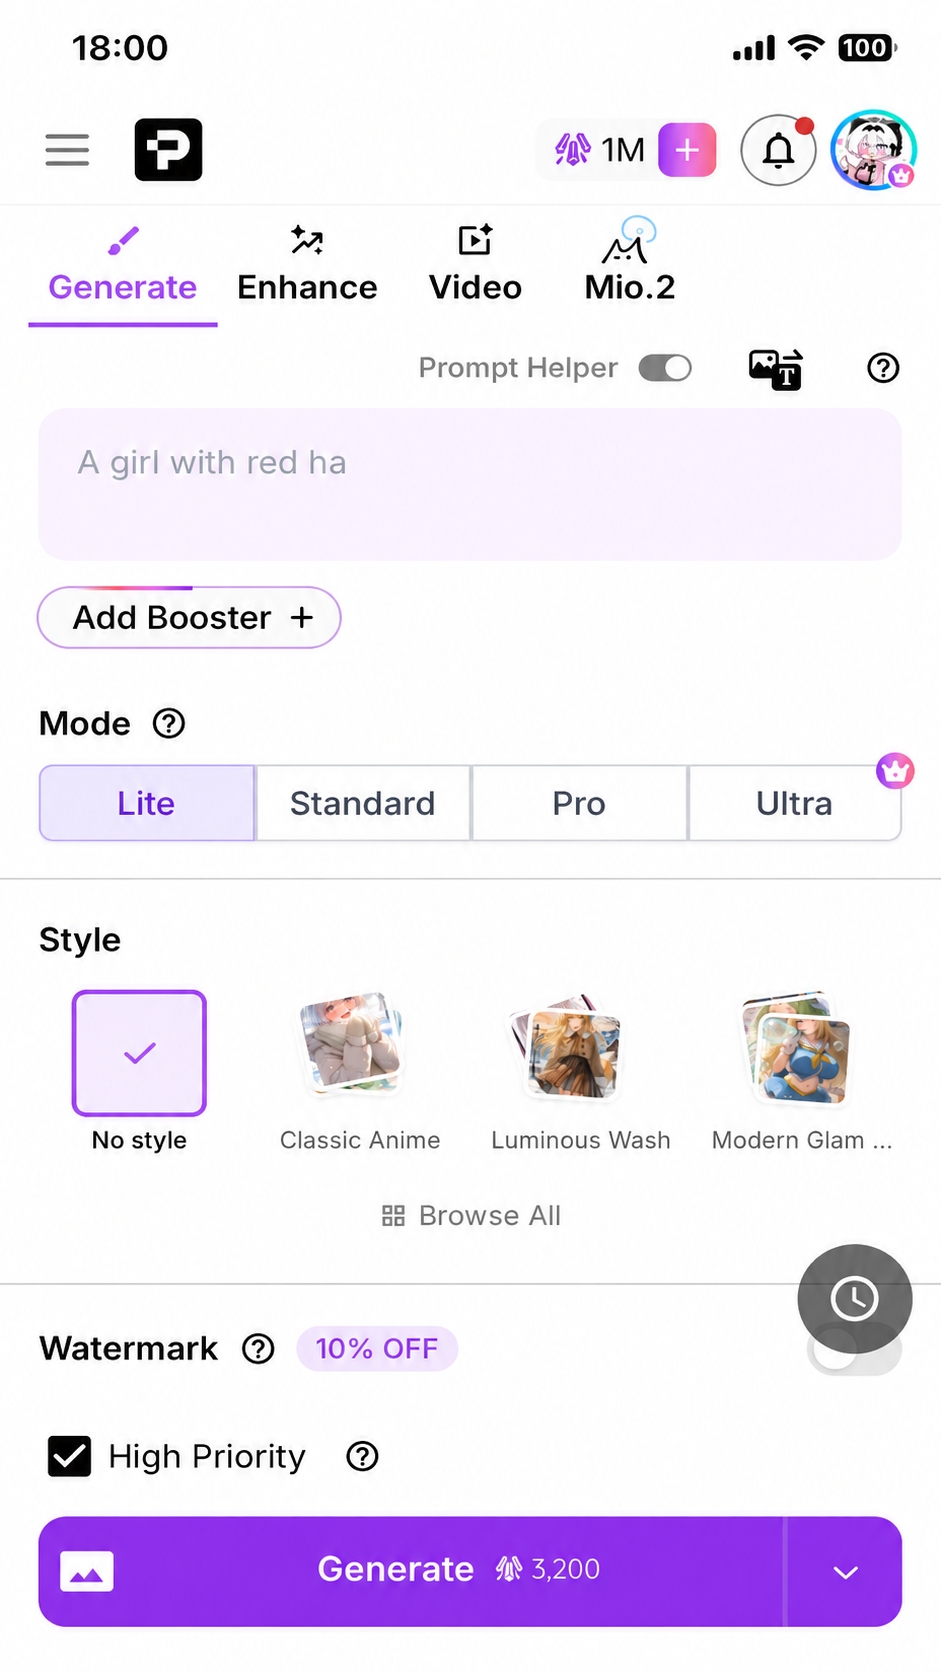

No need to memorize every button — we'll only touch the prompt this time. Follow me, step by step!
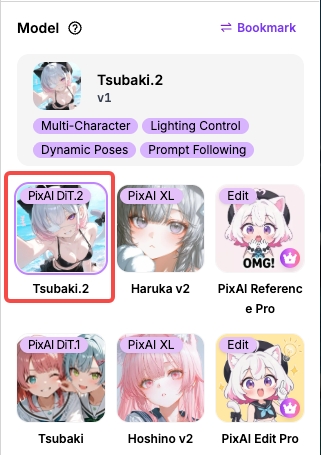
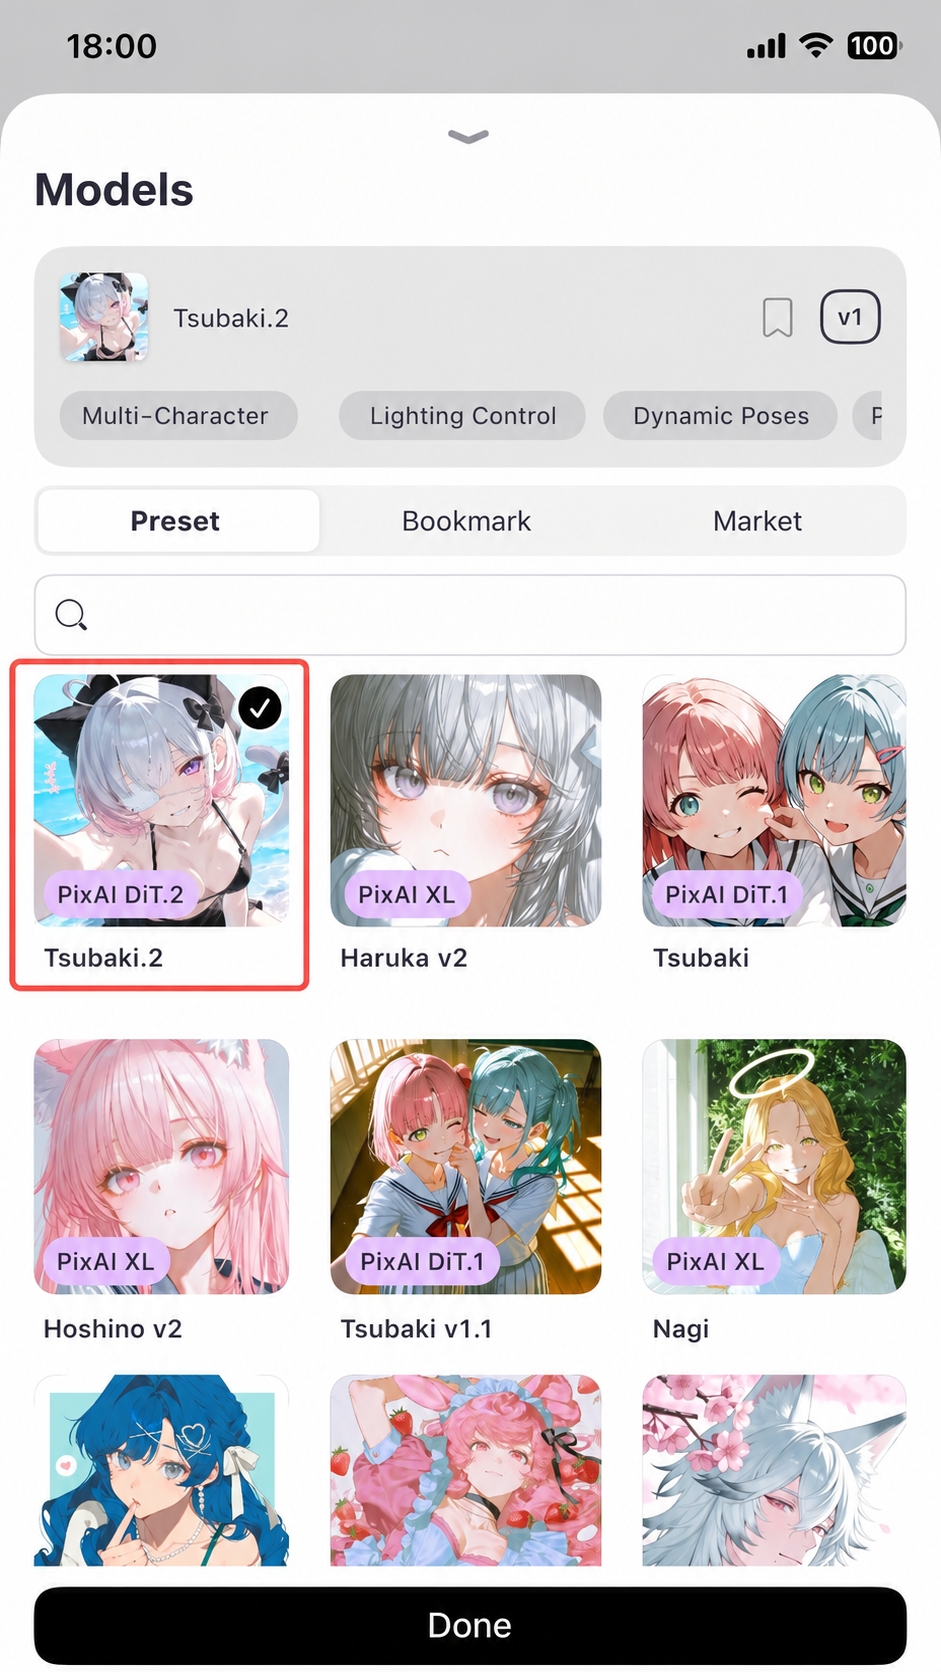
Step 2: Pick a Model
Open the model selector and choose Tsubaki.2:
- Desktop: right-side panel
- Mobile (web / app): the Model block on the page or the Model icon in the bottom toolbar
Tsubaki.2 is PixAI's latest flagship model (March 2026). Its natural-language understanding is exceptional, and it covers almost every art style you can think of. Want to learn more? Check out Flagship Model Tsubaki.2.
Step 3: Write Your Prompt
In the prompt field in the middle, type a description of the image you want. Try the example below. Once your prompt and model are set, hit the Generate button. Wait a moment and your image will appear under the generation area.

Prompts feel overwhelming? Don't try to memorize them. Generate a lot and you'll pick it up fast! For more, take a look at Prompt Basics.
Step 4: Review the Result
Done! Below is the image we got from the prompt above. You can also view this piece on PixAI.

Step 5: Publish Your Work
Happy with the result? Click Publish to share it to the community gallery:
- Desktop: hover over the image and click the Publish button that appears below
- Mobile web: tap the Publish button shown directly under the result
- App: tap the artwork to open its detail page, then tap Publish in the top right
When publishing you can:
- Add a title and tags so others can find your work
- Choose whether to make the prompt and parameters public to help other creators learn
Publishing also completes daily missions and earns you bonus credits! Try to publish one piece every day.
Next Steps
Congrats on your first generation! From here you can:
Credits and Pricing
Learn how credits work, how to spend them, and which paid plans exist.
Prompt Basics
Pick up techniques for writing better prompts.
Model Overview
Get a feel for each model and when to use it.
Was this page helpful?
🎁 Adopted valid suggestions earn a 5,000 Credit reward!